
Changing fonts is one of the quickest ways to make a WordPress site look like yours. With a block theme you do it in the Site Editor, and since WordPress 6.5 you can add Google Fonts or your own font files from the built-in Font Library, without a plugin. With a classic theme, fonts usually live in the Customizer. Screenshots below come from our WordPress test site running Twenty Twenty-Five.
Block or classic theme? If you see Appearance → Editor, you have a block theme (method 1). If you see Appearance → Customize instead, use method 3.
Method 1: Pick a new typeset in Styles (block themes)
- Go to Appearance → Editor → Styles.
- Click Typography.
- Under Typesets, click a combination to preview it. Each typeset changes the heading and body fonts together.
- When you like the result, click Save (the button may read “Review changes” first).
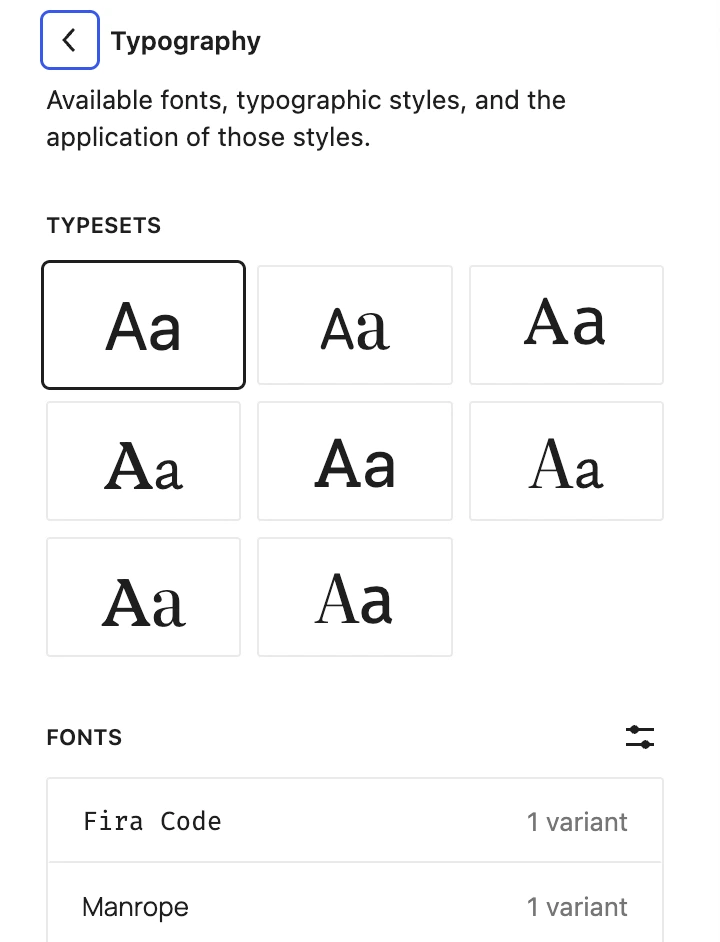 Styles → Typography: typesets at the top, the active fonts below.
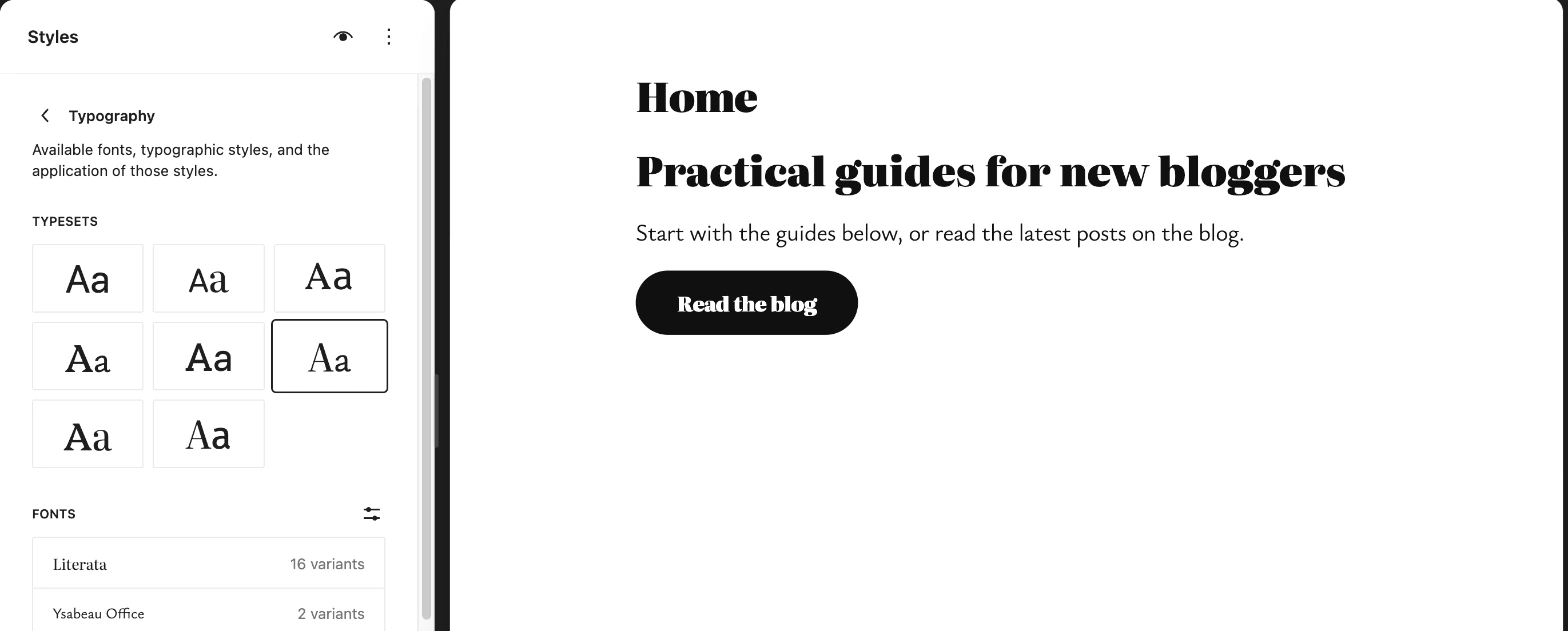
The preview updates right away, so you can try several typesets before saving. Here is our test homepage with a serif typeset selected:
Want a different font for just one part of the site? In the same Typography panel, open Elements (Text, Links, Headings, Buttons…) and choose a font family and size for each.
Method 2: Add Google Fonts or upload your own (Font Library)
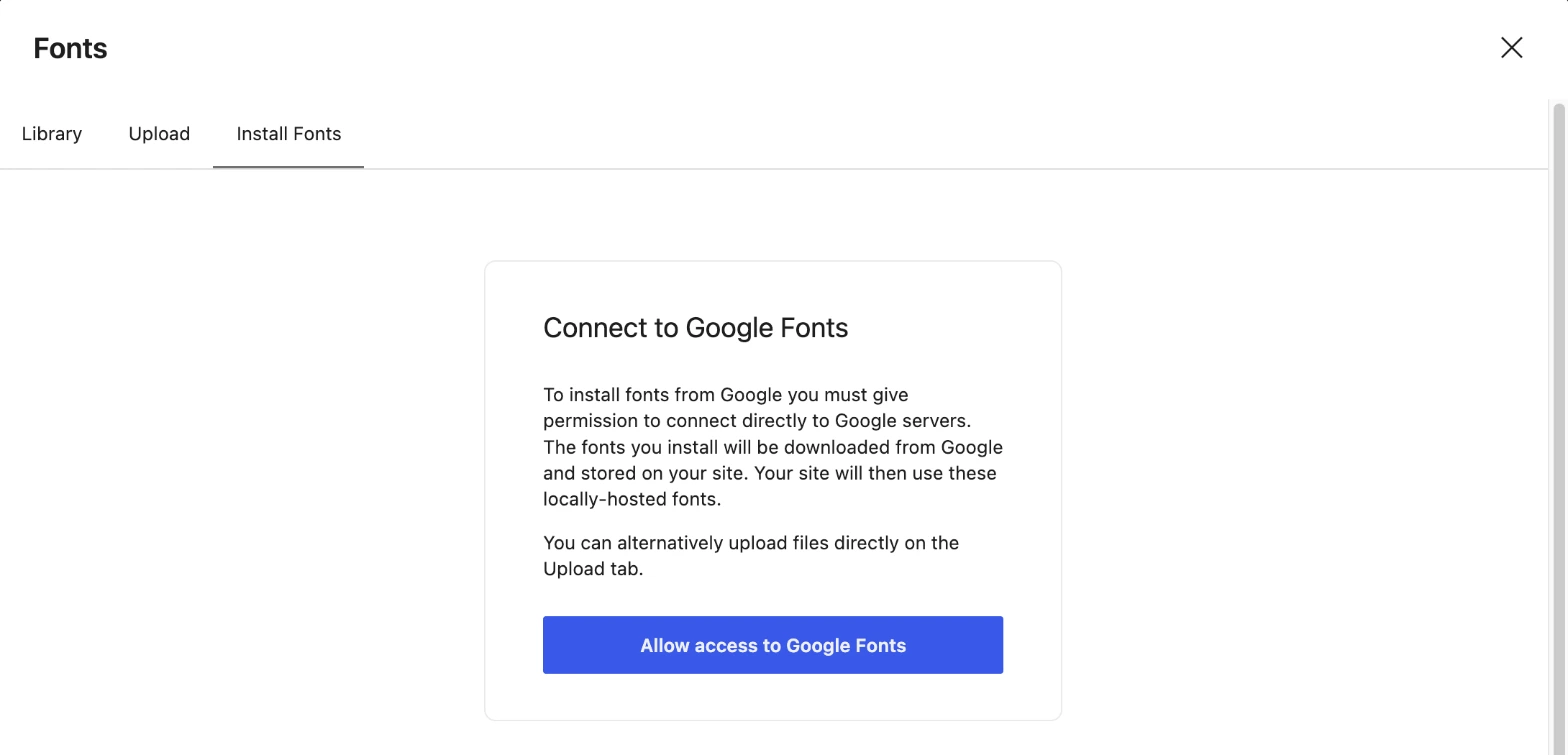
- In Styles → Typography, click the settings icon next to Fonts to open the Fonts dialog.
- The Library tab lists the fonts already on your site.
- The Install Fonts tab lets you browse Google Fonts. The first time, WordPress asks for permission to connect to Google. The fonts you install are downloaded and then served from your own site.
- The Upload tab accepts font files you already have (for example .woff2 or .ttf).
- After installing a font, select it in Typography or in an Element, then Save.
Speed tip: each extra font and weight is another file to download. Two families (one for headings, one for text) and two or three weights are enough for most blogs. More in what makes a WordPress theme fast.
Method 3: Change fonts in a classic theme
- Go to Appearance → Customize.
- Look for a section called Typography or Fonts (in some themes it is under Global or General). Its name and options depend on the theme.
- Choose the body and heading fonts and click Publish.
If your classic theme has no font options, you can add them with a typography plugin, or switch to a block theme. See how to install a WordPress theme.
Change the font of a single block
In the post or page editor, select a paragraph or heading, open the block settings on the right and look for Typography. If the font family option is hidden, click the three dots next to Typography to show it. This only changes that one block, so use it sparingly.
Common problems
- The font doesn’t change on the live site: purge your cache plugin and host cache, then reload (see our LiteSpeed Cache guide).
- No Font Library: it needs WordPress 6.5 or newer and a block theme. Update WordPress, or use method 3.
- Text looks different in the editor and on the site: a plugin or custom CSS may be overriding the theme fonts. Check Appearance → Editor → Styles → Additional CSS.
FAQ
Do I need a plugin to use Google Fonts in WordPress?
Not with a block theme on WordPress 6.5 or newer: the Font Library installs Google Fonts directly. Classic themes may need theme options or a plugin.
Are Google Fonts installed this way GDPR-friendly?
Fonts installed through the Font Library are stored on your own site, so visitors don’t load them from Google’s servers. That avoids the main privacy concern with embedded Google Fonts. Check your own legal requirements.
How do I change the font size?
In Styles → Typography → Elements → Text (or Headings), set the size. For one block, use the block’s Typography settings.
More WordPress basics: change your header, change your menu and edit the footer.

Leave a Reply